

First of all You need to Install the Limbo Pc Emulator App in your Android Phone and download the Required Windows 10 file to boot the OS. Below you will find all the download links so Download all the file and copy it to your smartphone's Internal or External Storage.
Download Links:
Windows 10 Download Link:
MEGA Download Link:- https://mega.nz/#!Kl5HlSTD!P6WNrDQrypvHOARnnxdw426SXl2qsBHXWKLaFBcf28M
or
Google Drive Download Link:- https://drive.google.com/file/d/1r5YyVzQTbU1O64_Pp5sFASMXD1Zc5x6U/view
Limbo Emulator Google Play Download Link: https://play.google.com/store/apps/details?id=fr.energycube.android.app.com.limbo.emu.main.armv7&hl=en
or
Limbo Emulator Official Site Download Link:http://limboemulator.weebly.com/downloads.html
Video Tutorial Link:https://www.youtube.com/watch?v=VpUSQxHwQT8
After download and installing Limbo Emulator App follow all the Steps given below.
Step 1: Install and Open the Limbo App and select None.

2) Now Select the New option.

3) Now give here the name of Virtual Machine and click on Create.

4) Now select the PC in Architecture option.

5) Now select the x64 in Machine Type option.

6) Now select the SandyBridge in CPU Model option.

7) Now select the 4 Cores in CPU cores option

8) Now give 880 mb of RAM memory in RAM memory option. You can give more if your smartphone have large number of RAM

9) Now in the Hard Disk option select the open option and go to the folder in which you kept the Windows 10 file that you downloaded.

10) It will open like this go to the folder where you kept the downloaded Windows 10 file and Select it.

11) Now select the Hard Disk in the Boot from Device option.

12) Now select the Vmware in the VGA Display option.

13) Now select the SDL in the User Interface option.

14) Now match all the setting as shown in the below picture. It should be the same as shown in figure.

15) Now Click on the Play Button. It will start the Booting process.

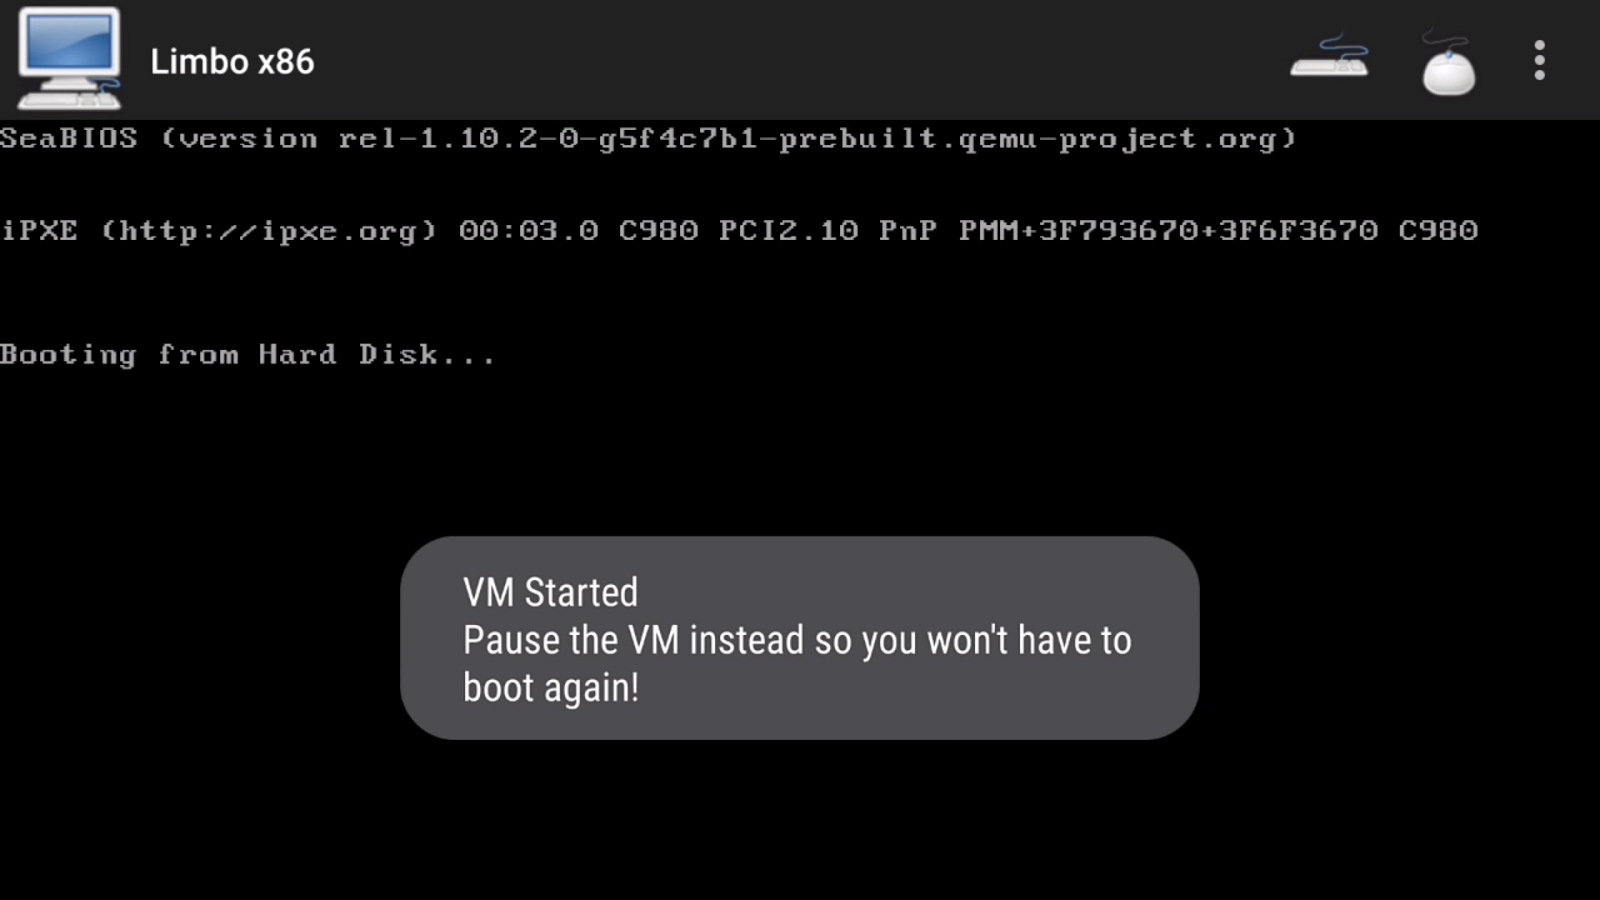
16) Now while Booting it will look like this so You have to wait until Windows 10 is fully booted up. It will take time which will depend on the your Smartphone's Specification.


17) After Windows 10 will be booted. Here How it will look..

Now You have Windows 10 running on Your Android Phone. Cool...!!!
So if you have any Question regarding this post and any Suggestion for the Next Post You can Comment down Below...
0 Komentar